
Introduction:
A relative afferent pupillary defect (RAPD) is an important sign that detects a lesion in the afferent pathway of light reflex.
It is seen in unilateral or asymmetric bilateral lesions of the retina and optic nerve upto but not involving the chiasm. It has been noted though, even in lesions of optic tract and pretectal afferent fibres of dorsal mid brain. Although the test requires both eyes, it is essential to note that it requires only one working pupil.
Swinging flashlight test of Levitan:
Before performing the test, one must examine the pupil for shape, size of the pupils, anisocoria if any and reaction to light. It is important to note all these since anisocoria and small sized pupils may make it difficult to detect relative afferent pupillary defect.
After completing this basic examination, one must proceed to perform the swinging flash light test, keeping in mind the following ten avoidable mistakes:
1. The ideal light:
The test must be performed with a halogen transilluminator/ indirect ophthalmoscope/ bright torch light.
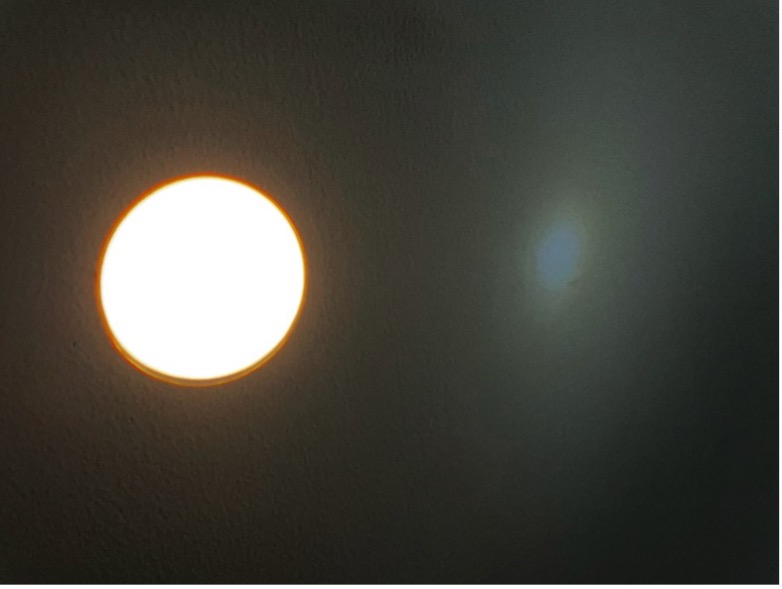
Care must be taken that the light is neither too dim nor too bright, since a very bright light stimulus may mask or miss an asymmetric reaction of the pupil.
So exactly how bright should a light source be? Since it is not practically possible to measure the light intensity, the intensity of a pen torch with fresh batteries will usually suffice.
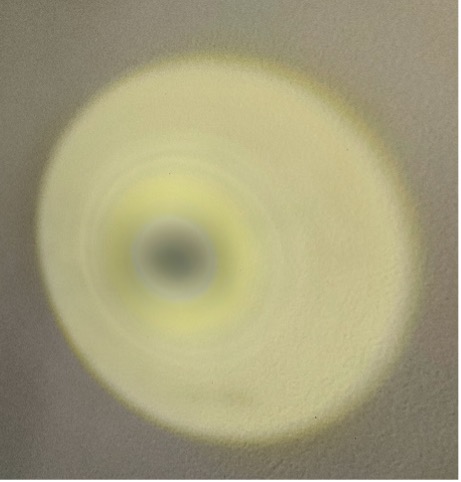
Do not use a torch beam that has a scotoma. Hence it may be a good idea to use the indirect ophthalmoscope light which has no scotomatous areas.
It is advisable to use a yellow light instead of a white light since it is less discomforting to the patient.
2. The ideal room:
Do not perform the test in a pitch dark room or in a very bright room. In the words of Dr. Thompson HS – “It is not necessary for the room to be as dark as a coal cellar or for the light to be of xenonarc intensity - a fresh handlight in a dim room is sufficient.”
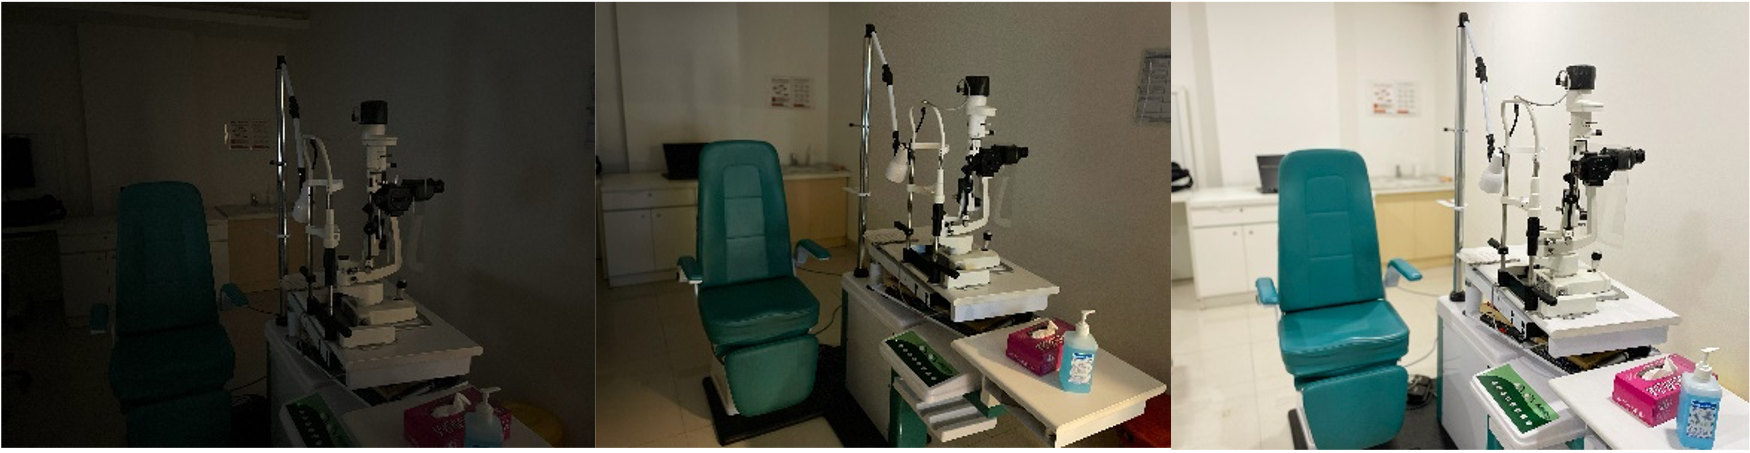
Now the question arises – why is that so? Well, in a completely dark room, consensual reflexes cannot be observed. It also becomes difficult to assess the pupil if the iris is dark coloured.
The room lights need to be sufficiently dim for one to be able to observe both the pupils. Hence if the room is completely dark, make sure to illuminate the eyes with a weak torchlight that does not cause reaction of the pupil, but still allows visualisation of the reflex.
3. Direction of light stimulus:
Always shine the light along the visual axes of the patient.
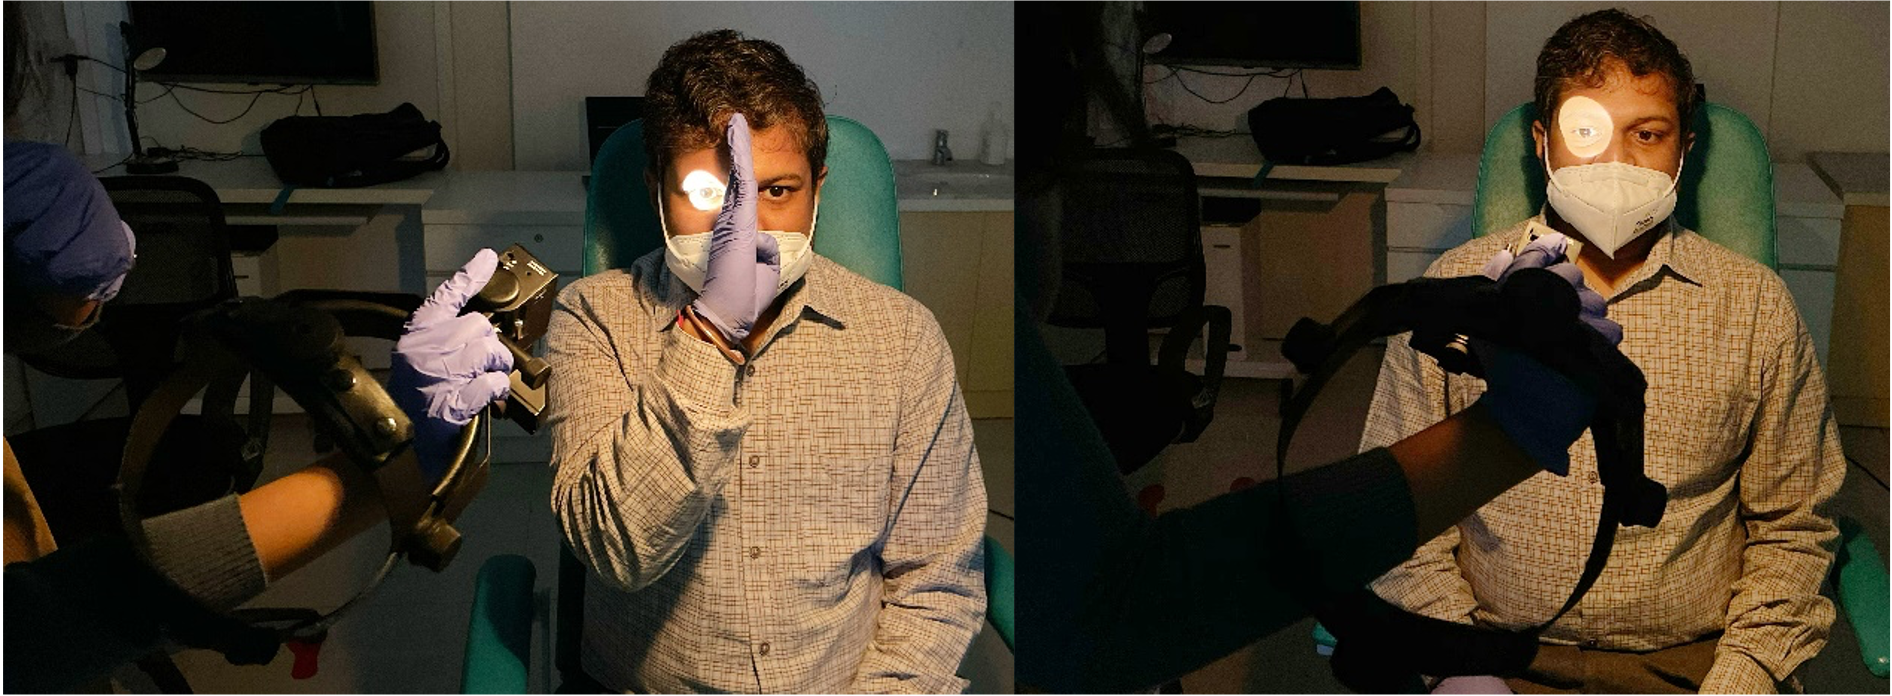
Swing the flashlight from side to side by moving the whole torch across from the sides. Do not simply swing the beam across the nose by holding the torch in front of the patient’s nose. This may cause an unnecessary near response.
4. Duration of light stimulus:
Do not hold the flashlight in front of either eye for more than 2- 3 seconds. Most examiners have the tendency to linger more on the affected pupil in anticipation of an RAPD. It is often helpful to mentally count “one- two- swing” during each swing to avoid such delay.
5. Fixation target:
Always ask the patient to fix at a faraway target preferably a Snellen chart in order to avoid a near response. A large Snellen chart target is often useful.
6. Position of the examiner:
Do not get in the way of the fixation target or it might cause a near reflex.
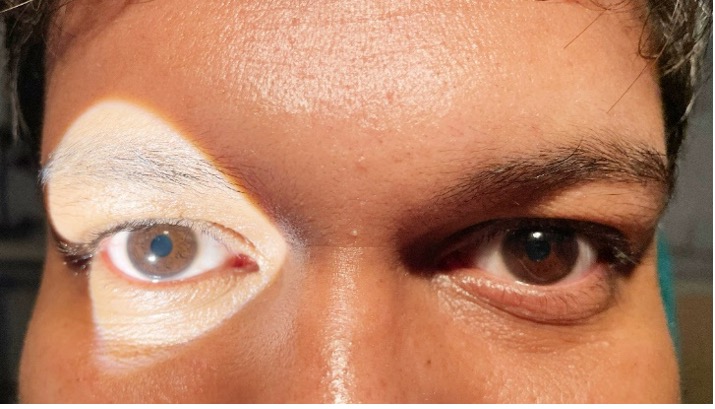
7. Occluder over the nasal bridge:
Do not forget to place an occluder on the bridge of the nose while assessing RAPD, especially in children, who have a relatively flatter nasal bridge.
8. Reverse RAPD:
Do not make the mistake of missing an RAPD in a patient with monocularly fixed dilated pupil. RAPD testing requires just one working pupil, hence RAPD can still be checked and is often useful in making important clinical decisions. In this technique the assumed normal/ better pupil is illuminated with a weak light temporally taking care that no response occurs. The light is swung as usual but only the normal pupil must be observed for consensual reflex while light shines on the dilated pupil. If the weakly lit pupil responds to the torch light being shone at the dilated pupil, then one can safely rule out RAPD in the dilated pupil. This technique can even be used in hazy corneas where visualizing the pupil may be difficult for the examiner.
9. Anisocoria:
Beware of anisocoria as it can elicit a false positive RAPD. The technique here needs to be modified a little. RAPD may occasionally be seen in an anisocoria of more than 2 mm due to unequal retinal illumination. This false positive RAPD can be eliminated by placing a neutral density filter of approximately 0.1 log units for every 1 mm of anisocoria and then performing the swinging flash light test as usual.
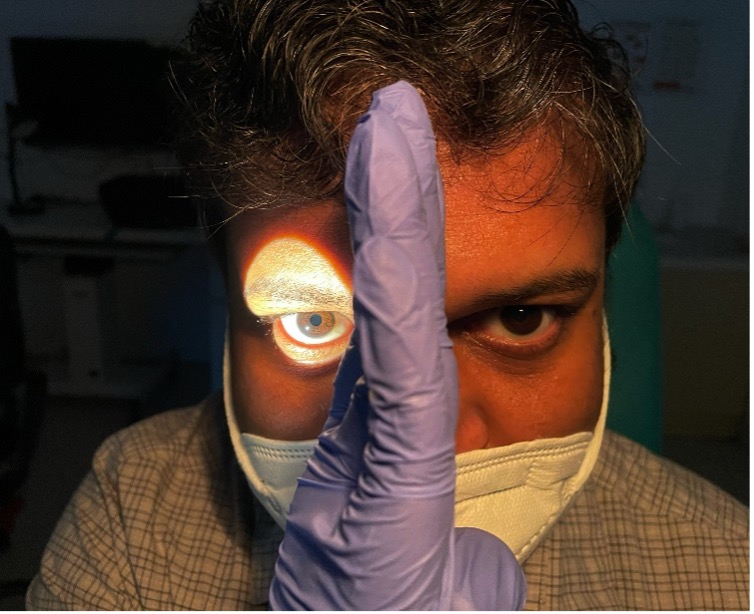
10. Technique for subtle RAPD:
To detect a subtle RAPD, it is not enough to simply look for dilatation on shining a light beam. Hence, a light beam must be shone long enough to check if there is an initial constriction or stall of the pupil followed by pupillary dilatation. Now if pupillary escape occurs in both eyes, look carefully for which eye shows pupillary escape to a greater diameter. The pupil with an afferent defect will always show pupillary dilatation to a larger diameter
Suggested reading:
- Levitan P. Pupillary escape in disease of the retina or optic nerve. Arch Ophthalmol 1959;62:768–779
- Borchert M, Sadun AA. Bright light stimuli as a mask of relative afferent pupillary defects. Am J Ophthalmol 1988;106:98–99.
- Thompson HS, Corbett JJ, Cox TA. How to measure the relative afferent pupillary defect. Surv Ophthalmol 1981;26:39–42.
- Broadway D. How to test for a relative afferent pupillary defect (RAPD). Comm Eye Health 2012;25(79 & 80): 58–59.